
Cold Process Soap Making
All soap results from a chemical reaction called saponification that occurs between lye and excess fat or oil. Cold process soap, in particular, allows it to neutralize the lye without the use of external heat sources, a process known as curing. This is a time-consuming process that allows for more gradual saponification. It usually takes 4-6 weeks for the soap to become, well, soap. The lack of heat preserves the essential oils, allowing them to lather you in therapeutic goodness. It takes persistence, but we think it’s worth it.
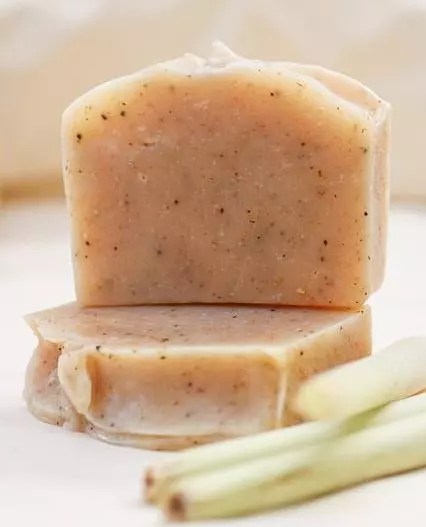
Cold-processed soap is made by mixing sodium hydroxide (lye) with water, blending it with fatty acids, oils, and organic colorants like clays. We then pour them into molds and take 24 hours to become soap (saponify). After removing them from the mold, they dry for a further 24 hours before being cut into separate soap bars. At this point, the actual action begins. Over the next 4-6 weeks, the soap cures as all it uses are the lye to break down the oils into their cleansing chains, and it gradually evaporates water, leaving a gentle, firm bar of soap.
When you cold-process soap breaks the essential fatty acids of the oils down simply by the lye. They then form a chain which, on one end with water, and another end, with oil. While you’re lathering, you can see those chains in action. The oil-loving end gains dirt and dust, and the water-loving end hangs on the waters that all rinses out.
To create cold process soap, heat the oils in your soap pot until they’re approximately 100 degrees. Gradually add the lye-water mixture, blend, and mix the soap until it thickens to trace. After the mixture reaches the trace, you add your scent, color, and additives and pour them into the mold. The raw soap will take about a day to harden and about four weeks to cure before it is ready to use.
To make cold process soap, you’ll need:
1. A clean, flat workspace with access to water and a heat source.
2. Some animal fats or natural vegetable oils.
3. A pitcher of lye water.
4. A soap container and some other easily found tools and equipment.
5. Fragrance or natural essential oils.
6. Synthetic or natural soap colorant.

Pros and Cons of Cold Process Soap Making
Pros
1. Your soap is made from scratch.
2. You can control all the ingredients in the soap.
3. You can tailor your recipe into unlimited variants.
Cons
1. You will need to learn how to work with lye safely.
2. You’ll need more ingredients and equipment to start.
3. It takes much longer to make, and there is more cleanup involved.
4. You need to wait for a minimum of 4-6 weeks before your soap is ready to use.

Cold Process Soap Making Tips
Once you have learned the principles of soap making in Cold Process, you will learn a lot more advanced techniques. To help avoid mistakes and disappointment while making soap, here are a few simple tips to get you going.
1. Never over-color your soap. If you use too much dye or pigment, it will bleed into the lather, which can be unappealing. The lather should be white, not colored.
2. If you want to get a good depth of color into a soap, try adding it as a splash of color or a swirl of color, leaving most of your soap uncolored. This will minimize any bleed of color in use.
3. In cold process soaps, most pretty botanicals do not hold up well. The high pH and the water content turn them brown and unattractive. If you want to use delicate botanicals, such as flower petals or buds, do not mix them into the soap; instead, press them onto the soap’s surface once it has gelled, which can be 2-3 hours after pouring it into the mold.
4. Spices work well as natural pigments and exfoliants. Many shades of brown/beige (ground cinnamon or musk) are easily achieved with earthy yellows to oranges (turmeric, paprika). Coarser ground spices add mild exfoliation and an amazing appearance.


